This tutorial was written in 2012. The model used is a Breyer Classic Sagr.
This tutorial will show you how to create a wild mane for your model horse.
For this tutorial you will need a two part epoxy putty. The tutorial uses Amazing Sculpt but other brands that work well are Millput and Apoxie Sculpt.
Estimated Cost: £25.00
Difficulty Level: Beginner
This tutorial will show you how to create a wild mane for your model horse.
For this tutorial you will need a two part epoxy putty. The tutorial uses Amazing Sculpt but other brands that work well are Millput and Apoxie Sculpt.
Estimated Cost: £25.00
Difficulty Level: Beginner
Shopping List
The Basics
Model Horse
Dremel or Hot Knife
Silicone or Metal Sculpting Tools
Sculpting
Two Part Epoxy Putty
Model Horse
Dremel or Hot Knife
Silicone or Metal Sculpting Tools
Sculpting
Two Part Epoxy Putty
Prepping

Step 1
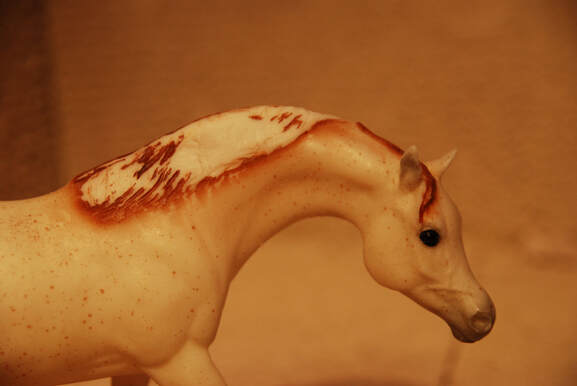
You need to start with a model horse body. The more the mane stands out from the model the better.
You need to start with a model horse body. The more the mane stands out from the model the better.
Step 2
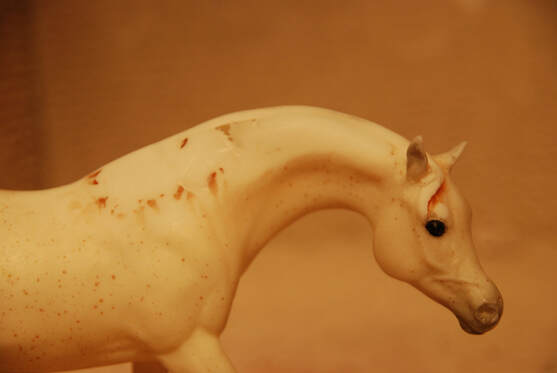
Use a dremel or hot knife to remove most of the mane. If your model has a mane close to the neck you will end up with quite a lot left. Just get as much off as you can.
Use a dremel or hot knife to remove most of the mane. If your model has a mane close to the neck you will end up with quite a lot left. Just get as much off as you can.
Step 3
Use sand paper to remove the rest of the mane and create a smooth finish.
Use sand paper to remove the rest of the mane and create a smooth finish.
Step 4
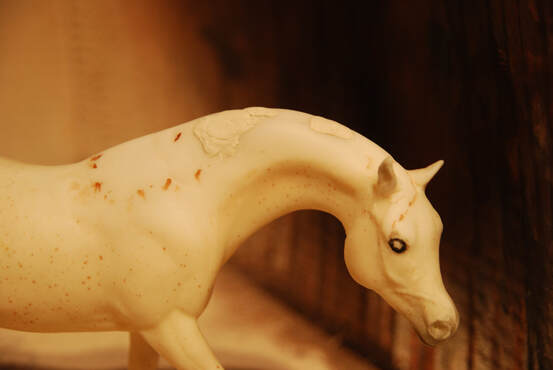
If you have any holes from where you removed the mane you will need to use some epoxy sculpt to fill them in. Place a blob over the holes and make it reasonably flat.
Leave to dry.
If you have any holes from where you removed the mane you will need to use some epoxy sculpt to fill them in. Place a blob over the holes and make it reasonably flat.
Leave to dry.
Step 5
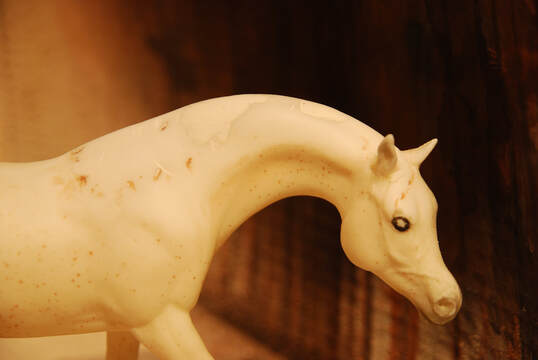
Once the putty has dried sand it down so that it is smooth against the horse's neck. You should now have a completed naked horse.
Once the putty has dried sand it down so that it is smooth against the horse's neck. You should now have a completed naked horse.
Step 6
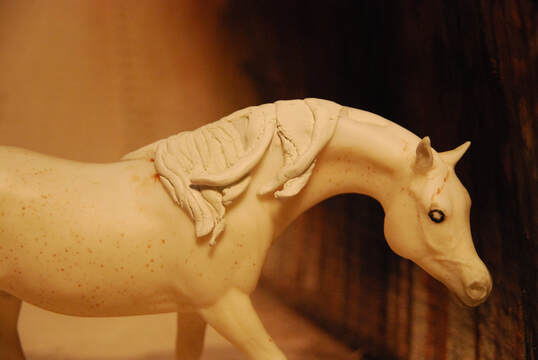
Now we can start sculpting the mane. Carefully add sausages working from the bottom up.
Then smooth them out, blending them into the neck. Use a sculpting tool to add detail.
Now we can start sculpting the mane. Carefully add sausages working from the bottom up.
Then smooth them out, blending them into the neck. Use a sculpting tool to add detail.
Step 7
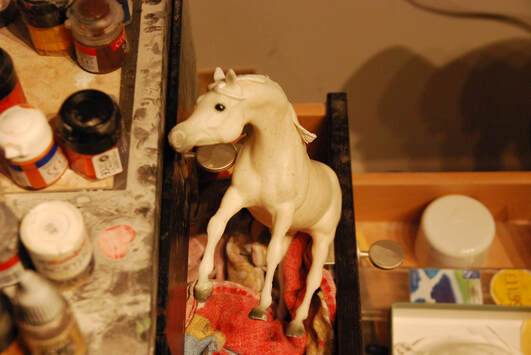
Once you have finished balance your horse upwards so that the epoxy flows towards the tail.
Leave it to set.
Once you have finished balance your horse upwards so that the epoxy flows towards the tail.
Leave it to set.
Step 8
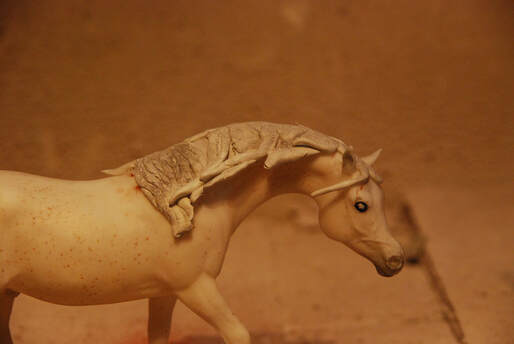
Once the epoxy is set it should flow away from the neck.
Once the epoxy is set it should flow away from the neck.
Gallery of Finished Pieces
If you've attempted this tutorial and would like to share an image with us for our gallery please email catriona@chestnutridge.co.uk
Make sure to let us know which tutorial you completed and any information (such as your name) you would like included with your picture.
Make sure to let us know which tutorial you completed and any information (such as your name) you would like included with your picture.